Spring Launch Readiness – Made Simple Through Proper Planning
April 5, 2023
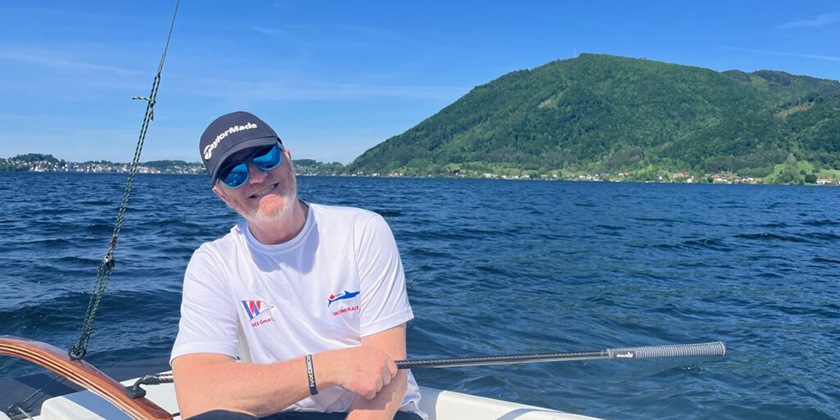
By Marc Robic
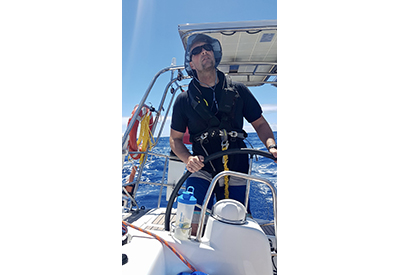
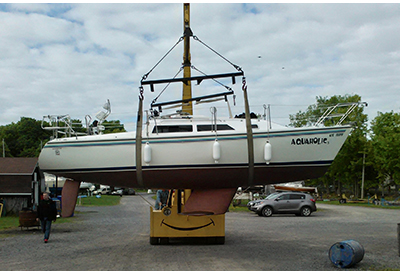
Photo: Happily heading to the launch wall
Last fall, I received many emails asking for my winterizing check list. And for those who wrote, I included my Spring Readiness list as well.
If you’re like me, as soon as I see the mercury rising, snow melting and streets are drying, my mind goes to sailing and I just cannot wait to come out of hibernation.
I start by reviewing my check list to make sure I have everything I will need and make a list of items to get at my local chandlery and make plans to be there at the annual spring sale. Note: I am a club cruiser and occasional racer – this is the list for most of us keelboaters who are not crazy competitive.
First thing every year: antifouling paint (I use VC17-M). For those of us in fresh water, many boat owners choose to apply a new coat every other year and simply ‘patch’ any areas that may be worn. I also change colour every year in order to observe the wear areas at haul-out. The most prominent wear areas are on all the leading edges, such as the bow and the leadings edges of the keel, keel winglets and the rudder. These areas are where I apply a first coat of antifouling before applying the antifouling to the rest of the hull. When I am done, those leading edges will have received two coats. Any left-over antifouling will also be applied to these areas.
In preparation for the season, and before I can do any work on the boat, I inspect my sails and all the canvas (bimini, dodger and mainsail cover) which I bring home every winter. Any mending gets tended to. All the canvas items get a coat of Canvas Water Proofing (with UV protector) painted on. The plastic windows get cleaned and a coat of Plexus applied to protect them and keep them clear. Of course, this must be done outdoors, where there’s ventilation and where they can be laid out or hung to dry for an hour or so. (I do this is our backyard, so I also treat our patio umbrellas and furniture at the same time.)
Once the warmer weather has arrived and the snow has melted, the winter cover and frame work are removed. I wash the boat completely using a good automotive soap, as that will remove any protective coating and eventually contribute to dull surfaces. While the mast is laying horizontally, I inspect and tend to any repairs or replacement as needed.
To check the lights on the mast, I made a wire extension that I can plug from the mast step terminals all the way to the base of the mast, which is laying over the bow. By doing it that way, I can just turn all the lights on from the panel inside and check all the lights at once (Anchor, Steaming and Deck lights). I also check all the navigation lights at the same time (bow and stern). If any bulbs need to be replaced on the mast, it is much easier than climbing up the mast. Many years ago, I switched all the bulbs onboard to LED. Not only has power consumption improved, but I have not had to replace any bulbs since. I also apply dielectric grease on all wire connections to promote good current flow and prevent corrosion.
Once this is done, I spray the entire mast, spreaders, shrouds, Windex and other mast instruments with Spider Out. This really keeps the spiders and their webs off. It is not 100%, but pretty good. I normally must reapply about mid season. I also spray the entire deck and life lines with Spider Out.
With the deck done, I know attack the hull above the water line. I start with a good wash, using the same automotive soap and water. Once dry, using a 6’’ palm polisher and Auto Glym Super Resin Polish (the red label), I polish the entire hull. Auto Glym Resin is super easy to use, even in the sun, and will restore and clean your hull to a nice shine with very little effort and quickly. Once I’ve completed the hull, I use Dry Shine Spray &Wax. Also, super easy. Spray on, wipe and polish by hand with a microfiber cloth and you’re done. Looks great and protects. I also use Dry Shine on the deck and cabin as well.
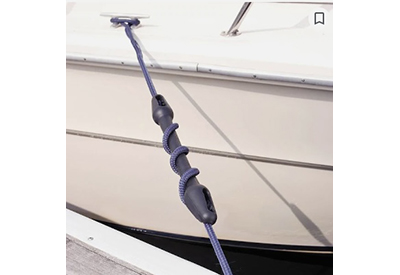
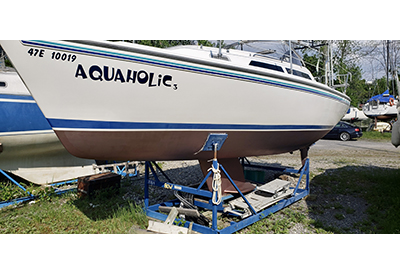 Hull and antifouling completed on Aquaholic
Next comes the hull below the water line. As noted above, I change colour from bronze (original) to blue every year. I like that I can spot wear areas come the fall, as the previous year’s colour becomes the tell tale.
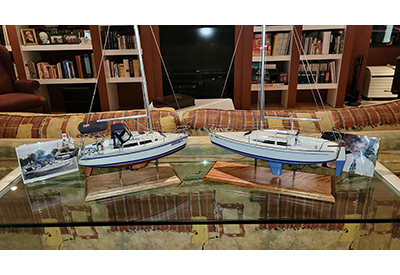
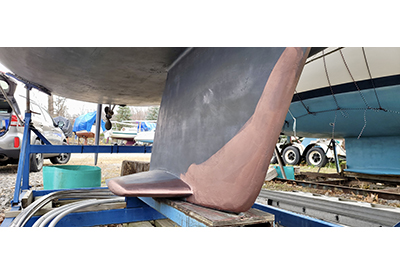
Last year, we did hit rocks a few times as our water levels had hit record lows. The lower front tip of the keel had some damage needing mending. I made this repair in the fall after haul out. Since my keel is lead filled, I used a hand-held propane torch to heat the lead and a hammer to reshape the keel. Once completed, I used a 2-part epoxy filler (Interlux Watertite Epoxy Filler). Super easy to use (1 to 1 mixing ratio), mix, apply and shape. Once set, a quick pass with a palm sander and 80 grit paper did the job. I applied a coat of Inter Protect 2000 over the repaired areas and finished up with a coat of VC-17M.
Left: Keel repair completed / Right: Interlux Watertite Epoxy Filler

With these exterior tasks completed, the interior and cockpit are next on the to-do list. From the water system flush and prep, cleaning and checking batteries, starting the engine to flush out the antifreeze, I pretty much follow the order of my check list and feel good each time I check things off!
|
PRIOR TO LAUNCH DAY (outside):
PRIOR TO LAUNCH DAY (inside):
ONCE IN THE WATER: ENGINE
|
Because I follow my list, and adjust/change it when needed, my pre launch process takes less time and last-minute surprises are minimal. Like I always say, maintenance cost much less in time and money than repairs.
Now, I just need to wait for the crane launch crew to put her in the drink!
The products I use that are mentioned above:
- VC17-M antifouling paint, made by International. Can be found at any serious boat supply store. I alternate every year from ‘Original’ to Blue.
- Interlux Watertite Epoxy Filler (Item: YAV135 KIT)
- Woods Canvas waterproofing with UV protection, sold by the gallon at Canadian Tire (Item: 76-5305)
- Auto Glym – Super Resin Polish, sold at Canadian Tire (Item: 39-2824)
- Dry Shine – Spray on and wipe off wax for the hull, at Canadian Tire (Item: 39-0431)
- Spider Out – Sold in aerosol or spray format, available at many hardware stores as well as Canadian Tire (Items: 59-3765 and 59-3646)
- Plexus, available on Amazon (www.plexusplasticcleaner.com)
- For my spring prep list, including other products I use, simply email me.
 Marc Robic / mrobic@aol.com
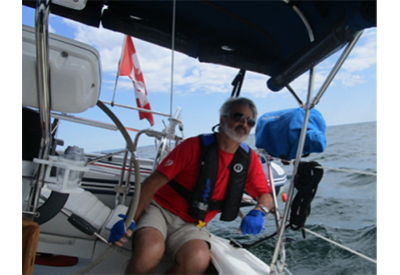
Marc is a member of the Canadian Power & Sail Squadron. He and his wife sail their Catalina 270, Aquaholic 3, out of the Ile-Perrot Yacht Club in Montreal, where Marc spent 16 years as Harbour Master. They are regular Caribbean bareboat yacht charterers. With over 40-years experience, Marc is also an avid onboard do-it-yourselfer.